• Blog
  • About
  • Features
  • Archives
  • Contact
Menu

Derby City Darling

Street Address
City, State, Zip
Phone Number

Your Custom Text Here

Derby City Darling

  • Blog
  • About
  • Features
  • Archives
  • Contact

Hair Routine: How To Go Seven Days Between Washes

August 10, 2015 Amanda Hollingsworth
Day 1.JPG
Day 2.JPG
Day 3.JPG
Day 4.JPG
Day 5.JPG
Day 6.JPG

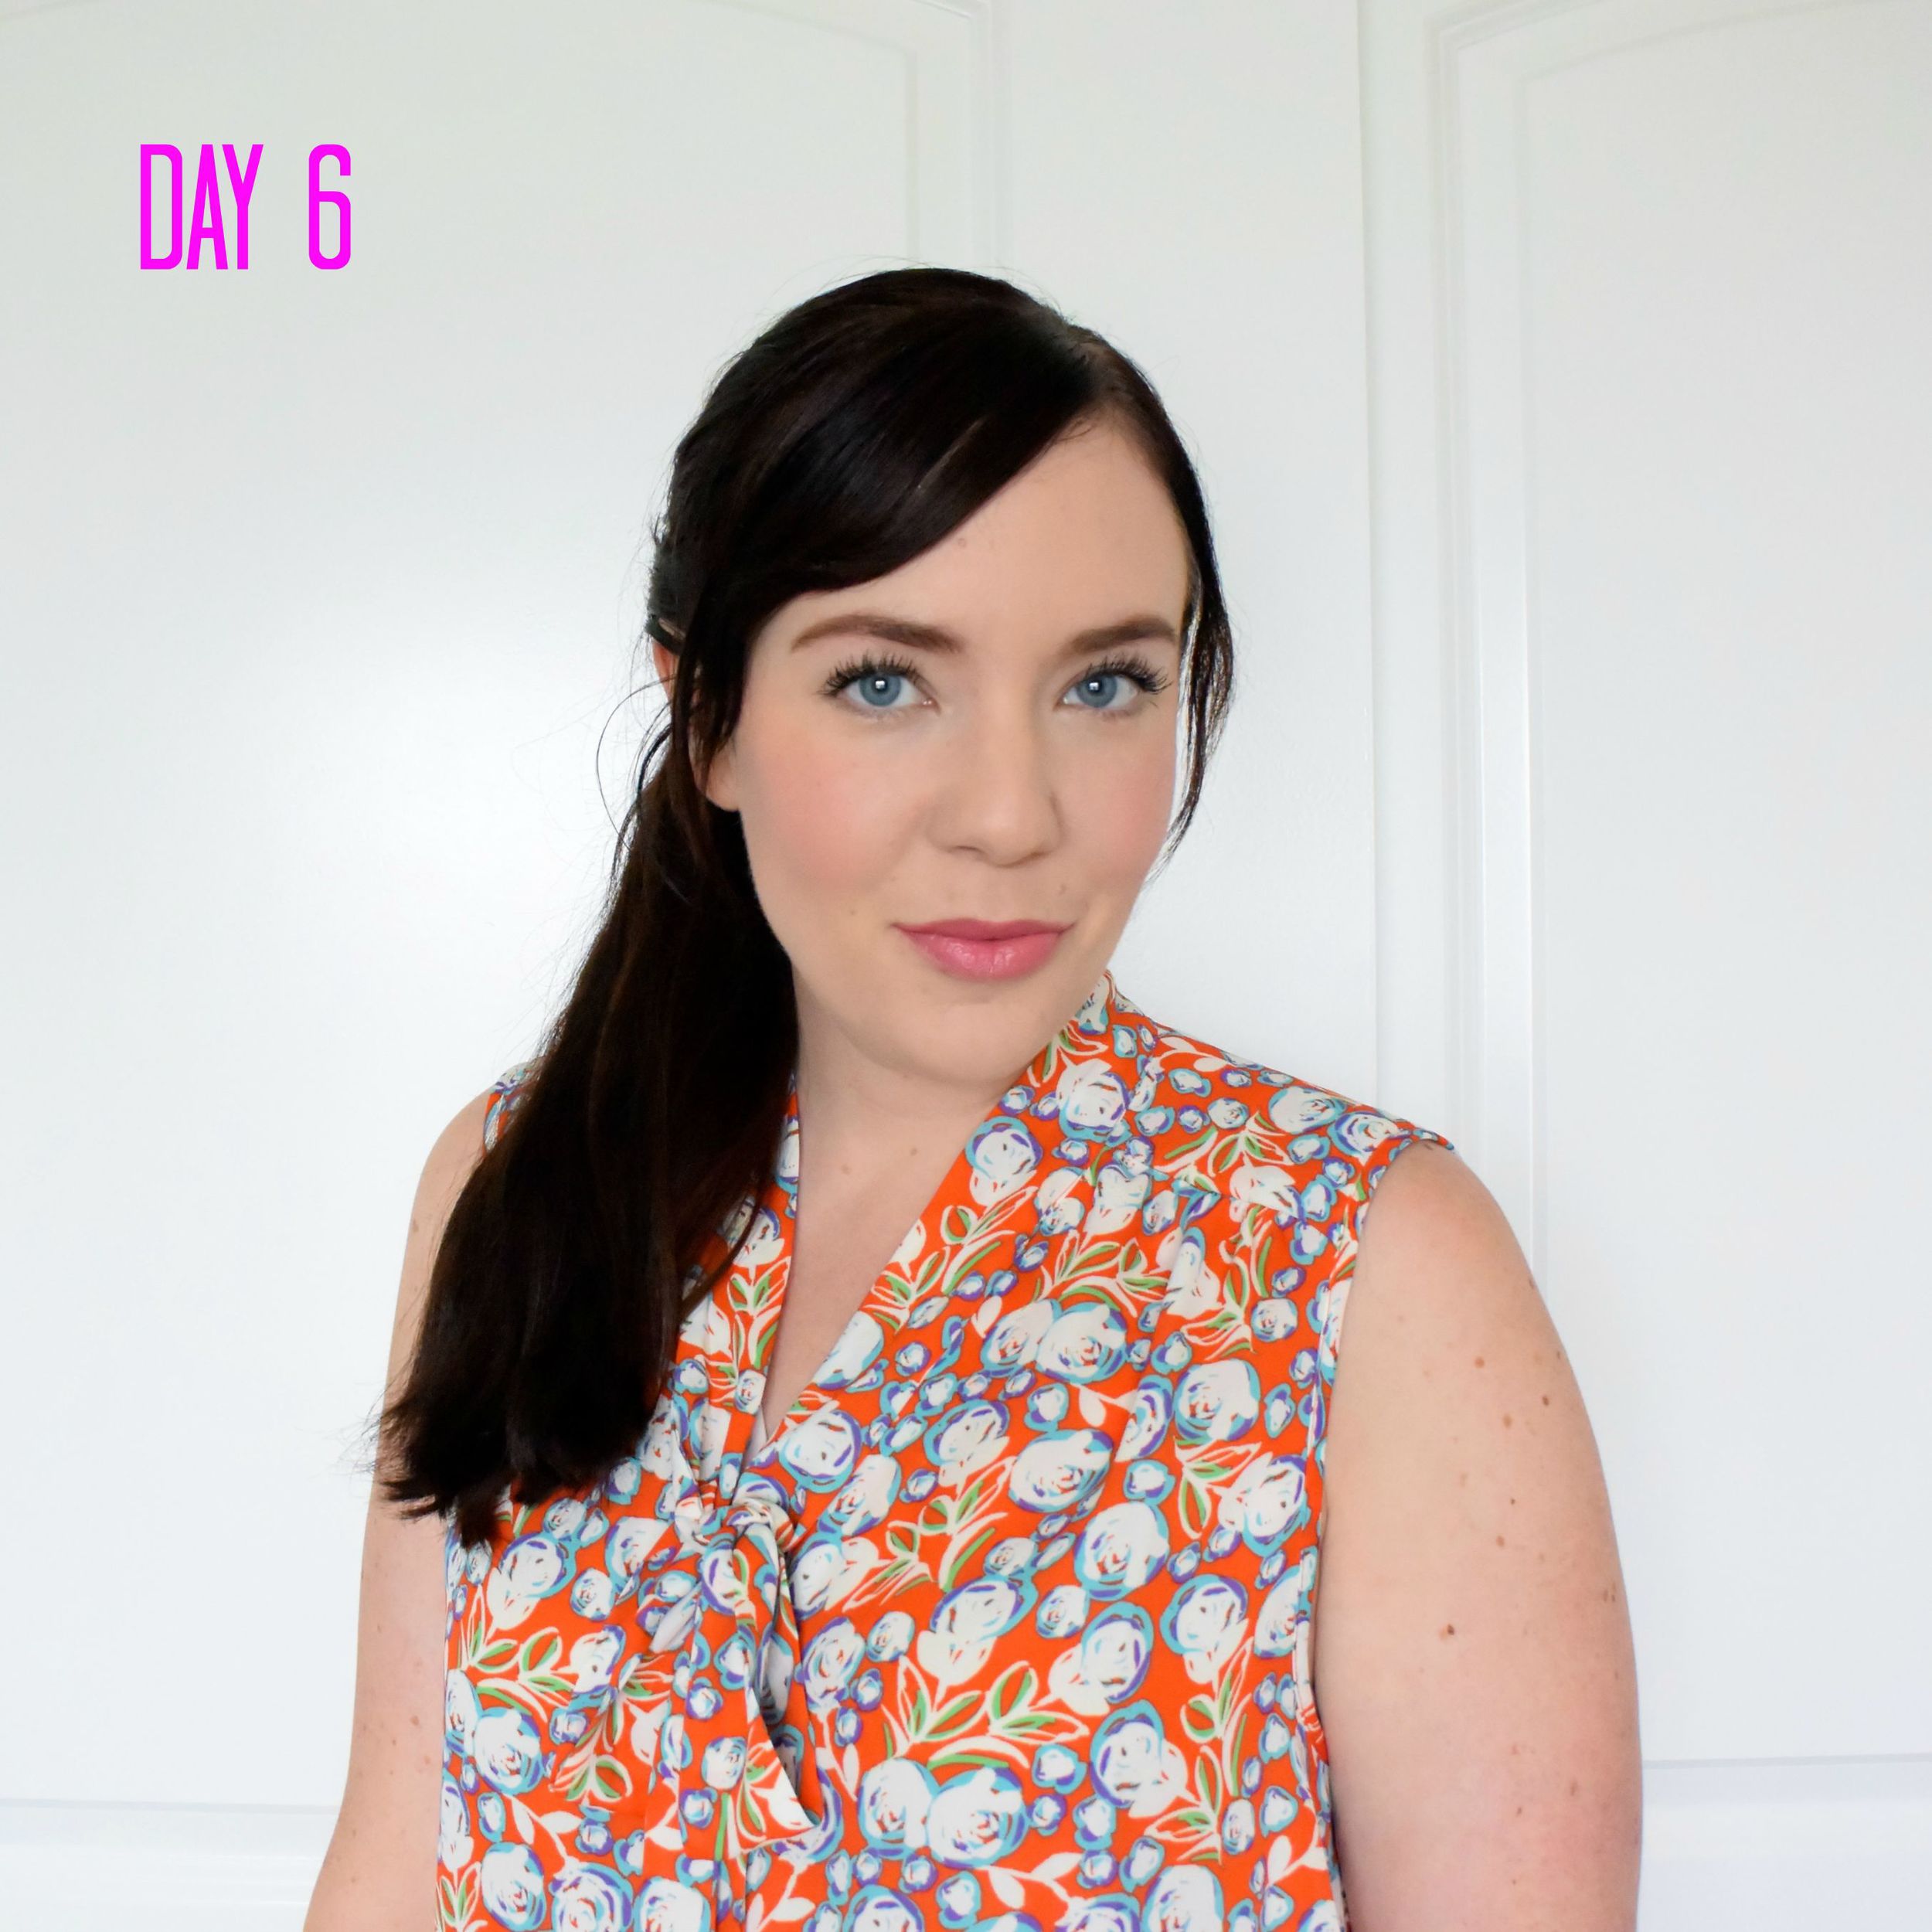
If there's one thing I loathe more than anything else, it's washing my hair.  All of the time spent in the shower, blow drying, and styling can really add up.  Throw in my super thick "wow you have a lot of hair" hair and you can multiply the time it takes to complete that process by about a million.  I used to be an every other day kind of girl, living for my blow dryer and flat iron.  But then I was introduced to the wonderful world of dry shampoo by Chelcey and there's been no turning back ever since.

There are so many benefits to washing your hair less often, first and foremost being the health of your hair itself.  It's a common myth that washing your every day or every other day is necessary, but in reality all you're doing is stripping your hair of its natural oils, causing more oil to be produced which will only increase your washing frequency.  It's a vicious cycle.  You'll also use less product, less water, your color won't fade as quickly and it will be subjected to less heat, which basically equates to more money in your pocket for other fun things!

I slowly started weaning myself off of my every other day addiction little by little.  I would extend the time to every two days for a couple weeks, then three, then four, until I got to the point I'm at now.  It definitely takes time and patience to train your hair so I don't recommend going straight to a week between washes, but it's so worth the wait.  And I think it's important to point out, I have incredibly thick hair like I said and it's also somewhat dry, so seven days isn't all that crazy to me.  However, if you have thinner hair it will probably look dirty quicker so it's perfectly fine to adapt my routine to a shorter time span.  All that matters is that you find a routine that's comfortable for you and your personal preference that will still save you time.

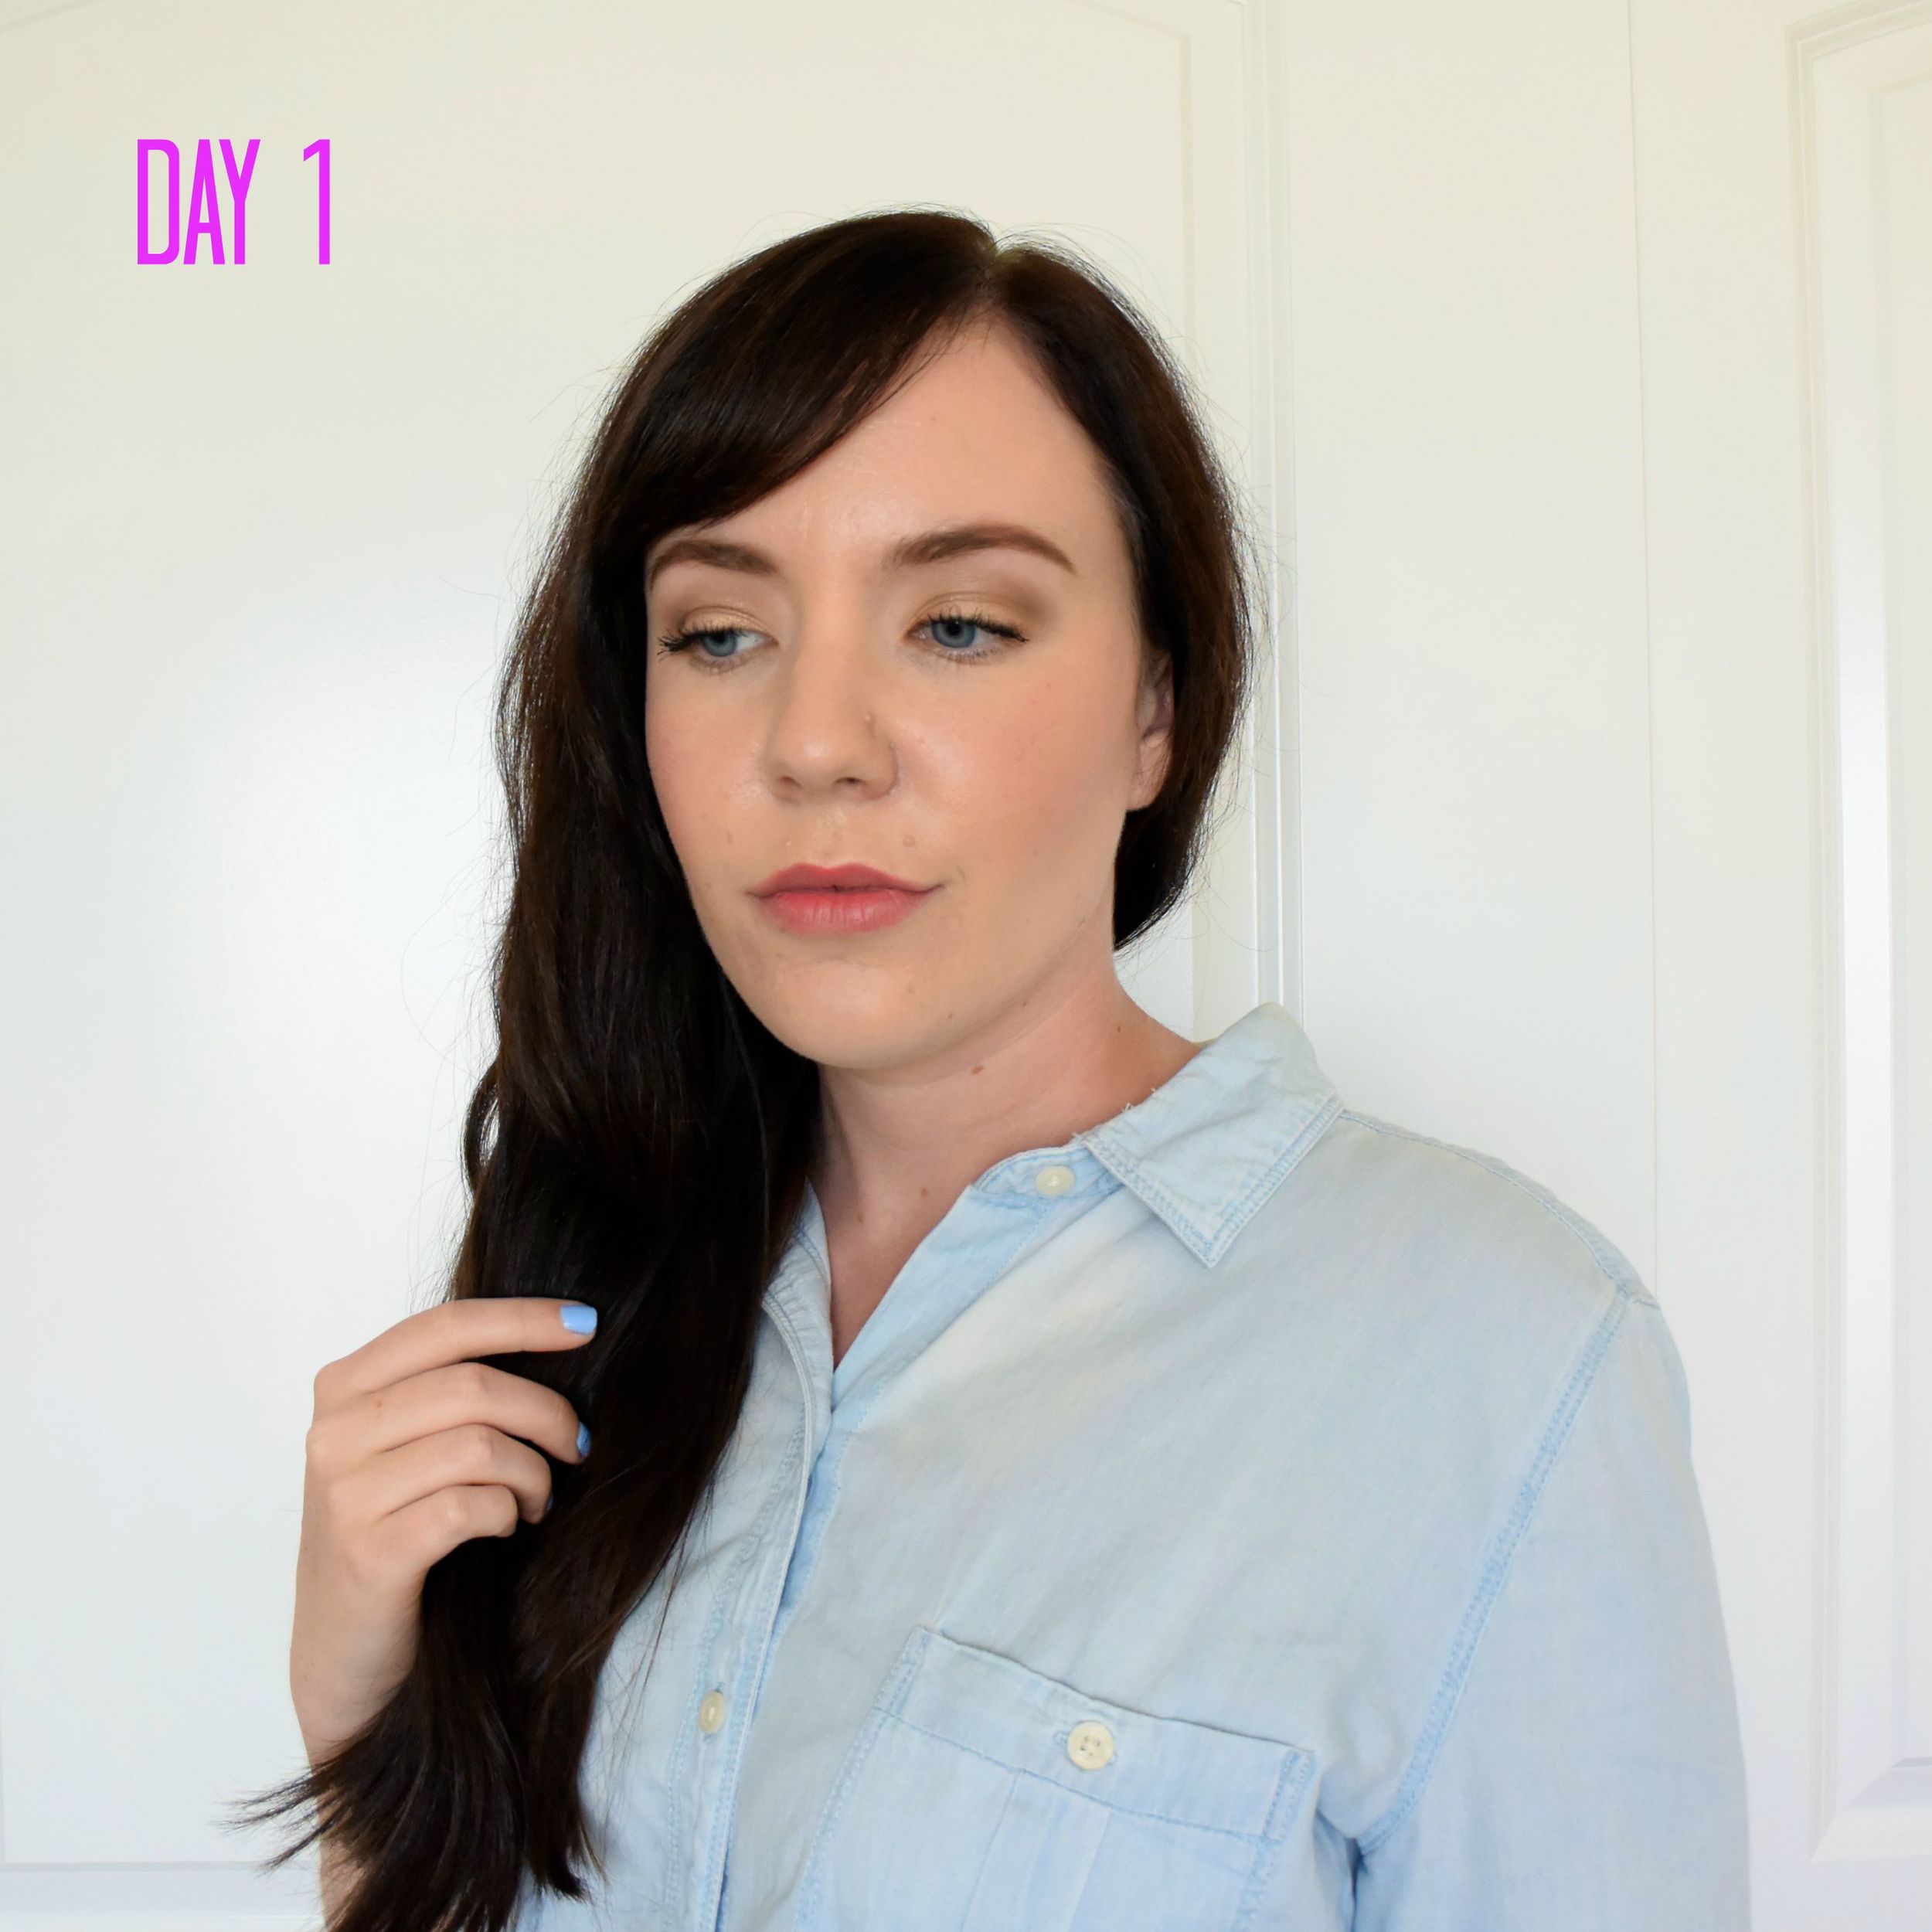
Days 1 - 3: This is when I have fresh, clean hair and the world is pretty much my oyster.  I use shampoo and conditioner specifically for colored hair, and alternate a clarifying shampoo every other week.  I typically wear my hair down on these days since this is when it looks the best.  Lately I've been letting my hair completely air dry (except for my bangs - I'll have a routine for that soon!) so I'm left with my natural waves.  This way I don't have to do much to it other than comb through it with a wide-tooth comb.  I'll just quickly comb out the ends morning and night to help keep it tangle-free and get rid of any loose hairs.  I shed all over my apartment so anything I can do to help keep it contained is worth my time.  

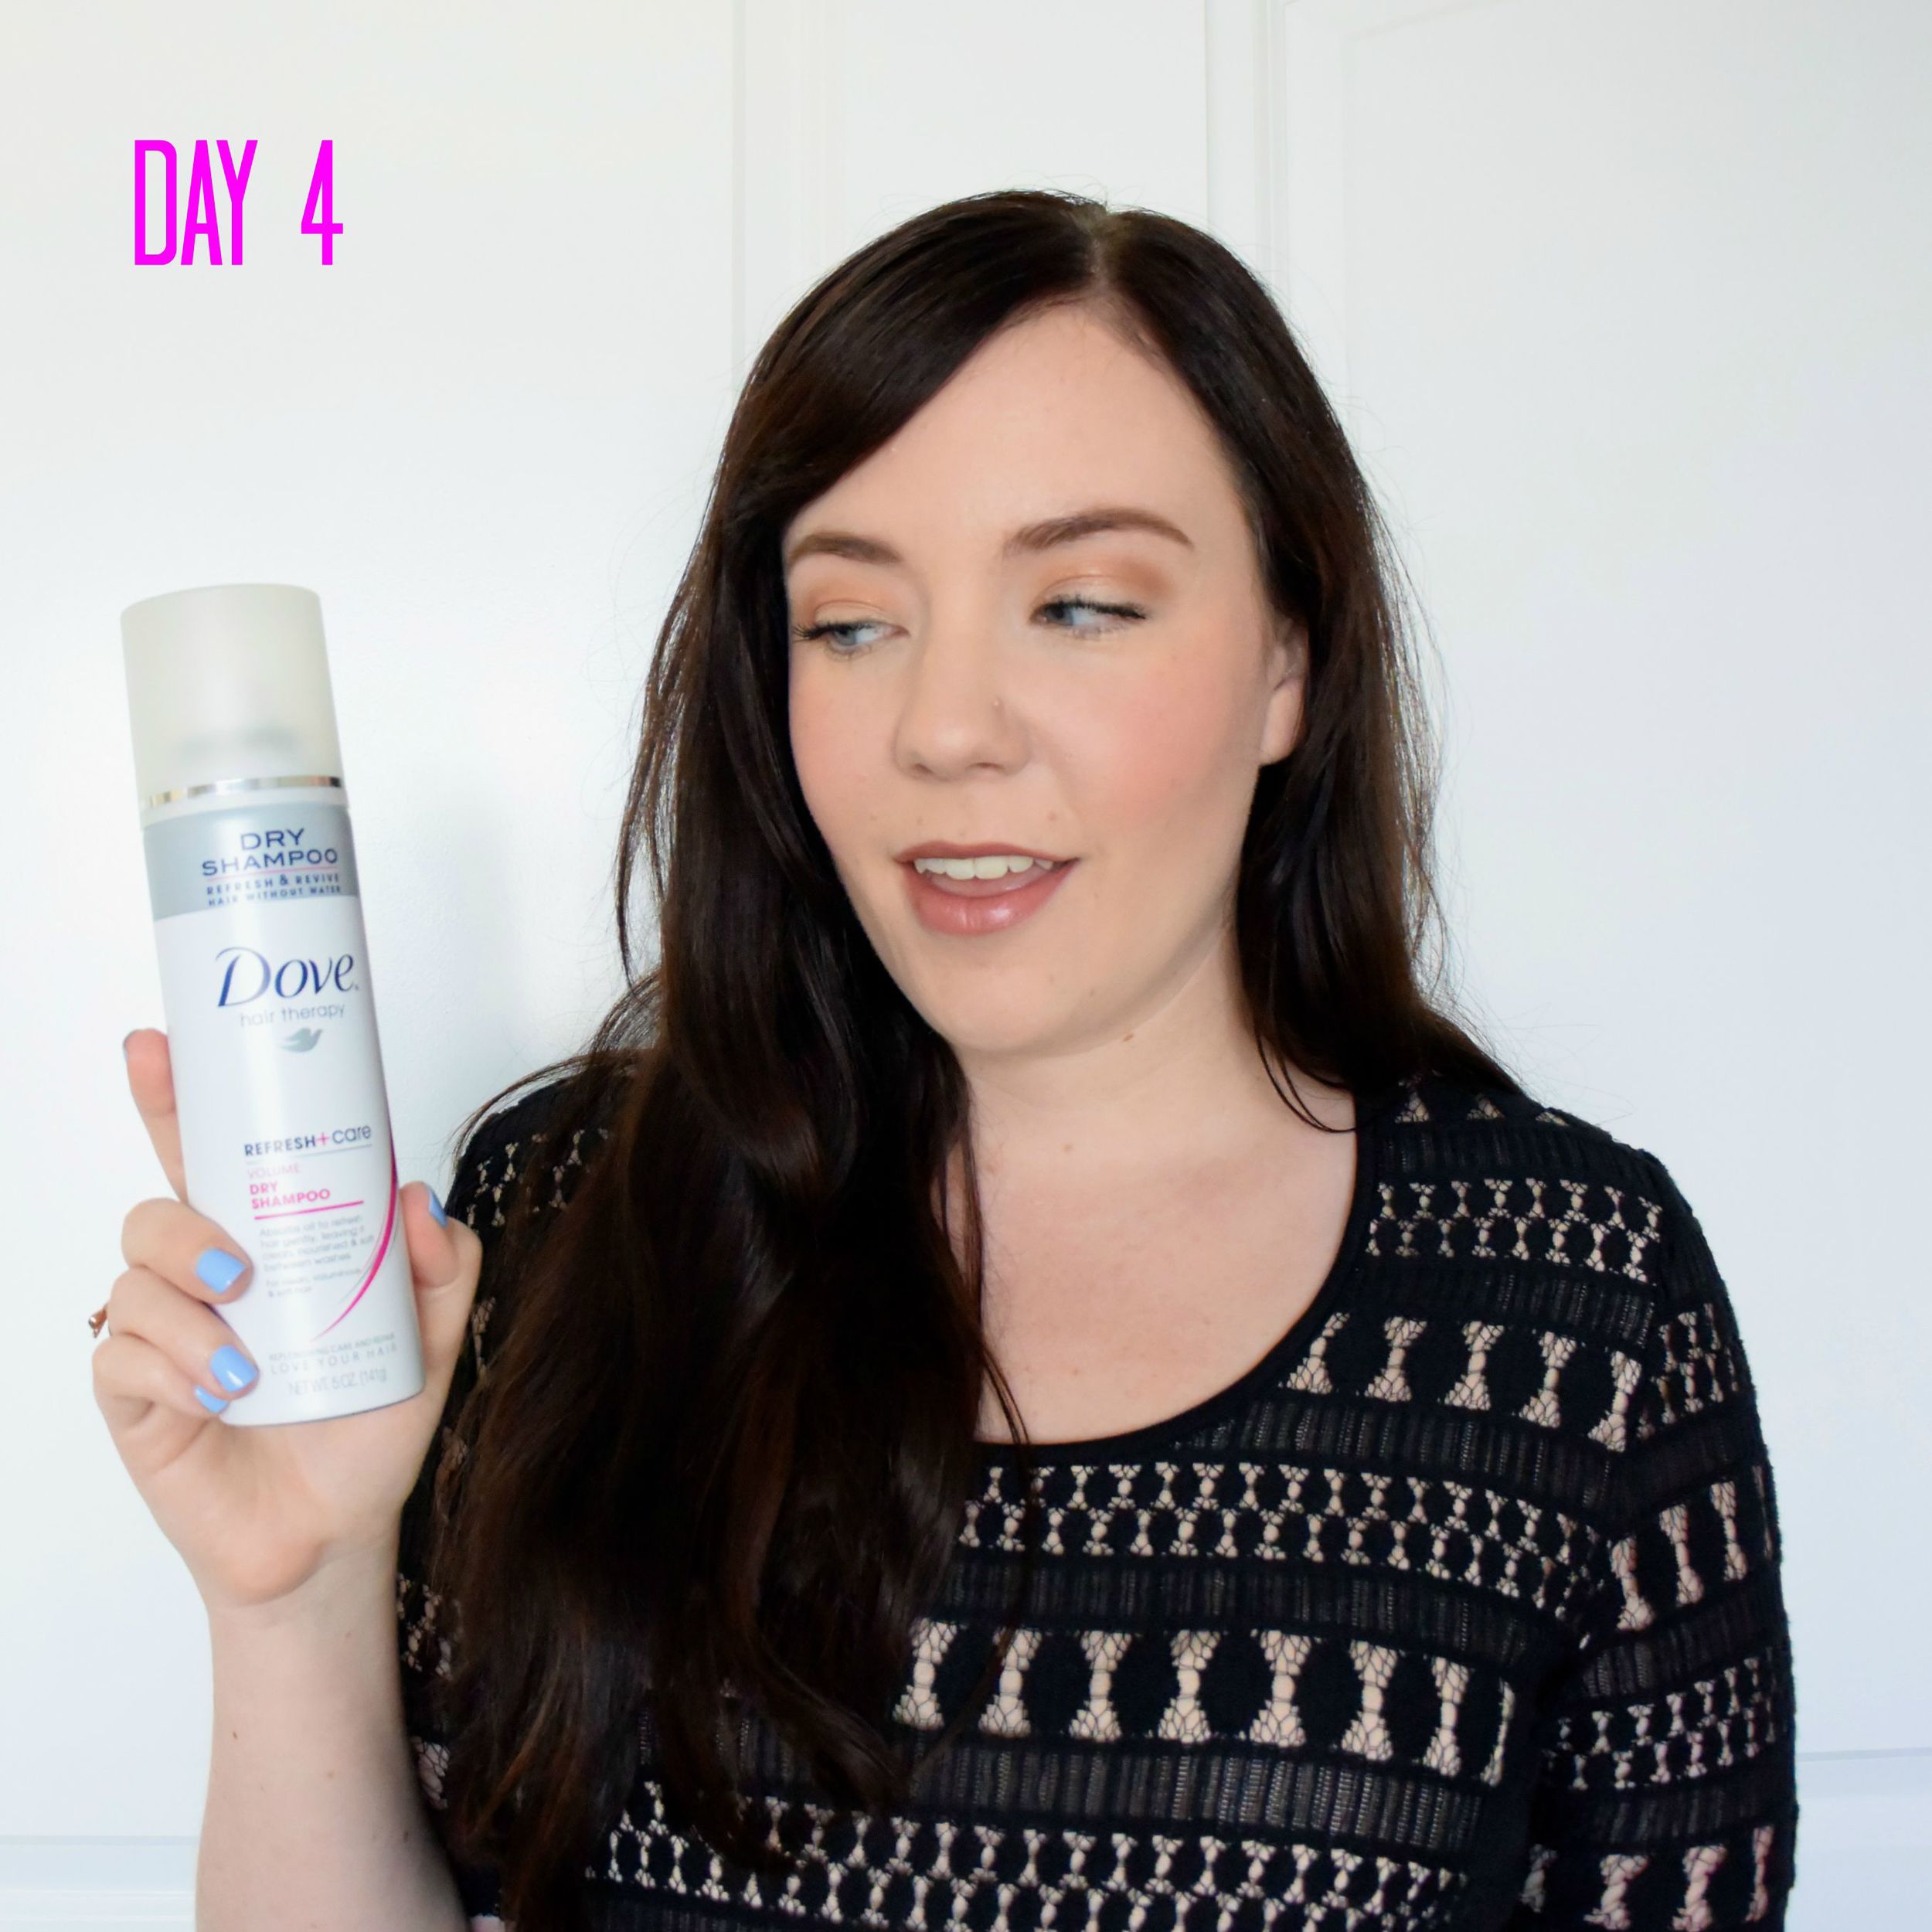
Day 4: On day four, I bring out the dry shampoo.  When I first get up, I lift my hair in sections at the roots and apply it to the underside.  That way the top of my head won't look powdery, like I obviously just applied dry shampoo.  After my makeup is done and I'm dressed and ready, I'll flip my head upside down and work the dry shampoo into my roots with my hands and then comb out the ends.  My tried and true favorite is the Dove Invigorating Dry Shampoo.  The smell is the furthest thing from offensive - read, it smells amazing - and it pumps up the volume at my roots.  It's important not to go overboard with dry shampoo daily though, or else you'll end up drying out your scalp, so this is the only day that I use it. 

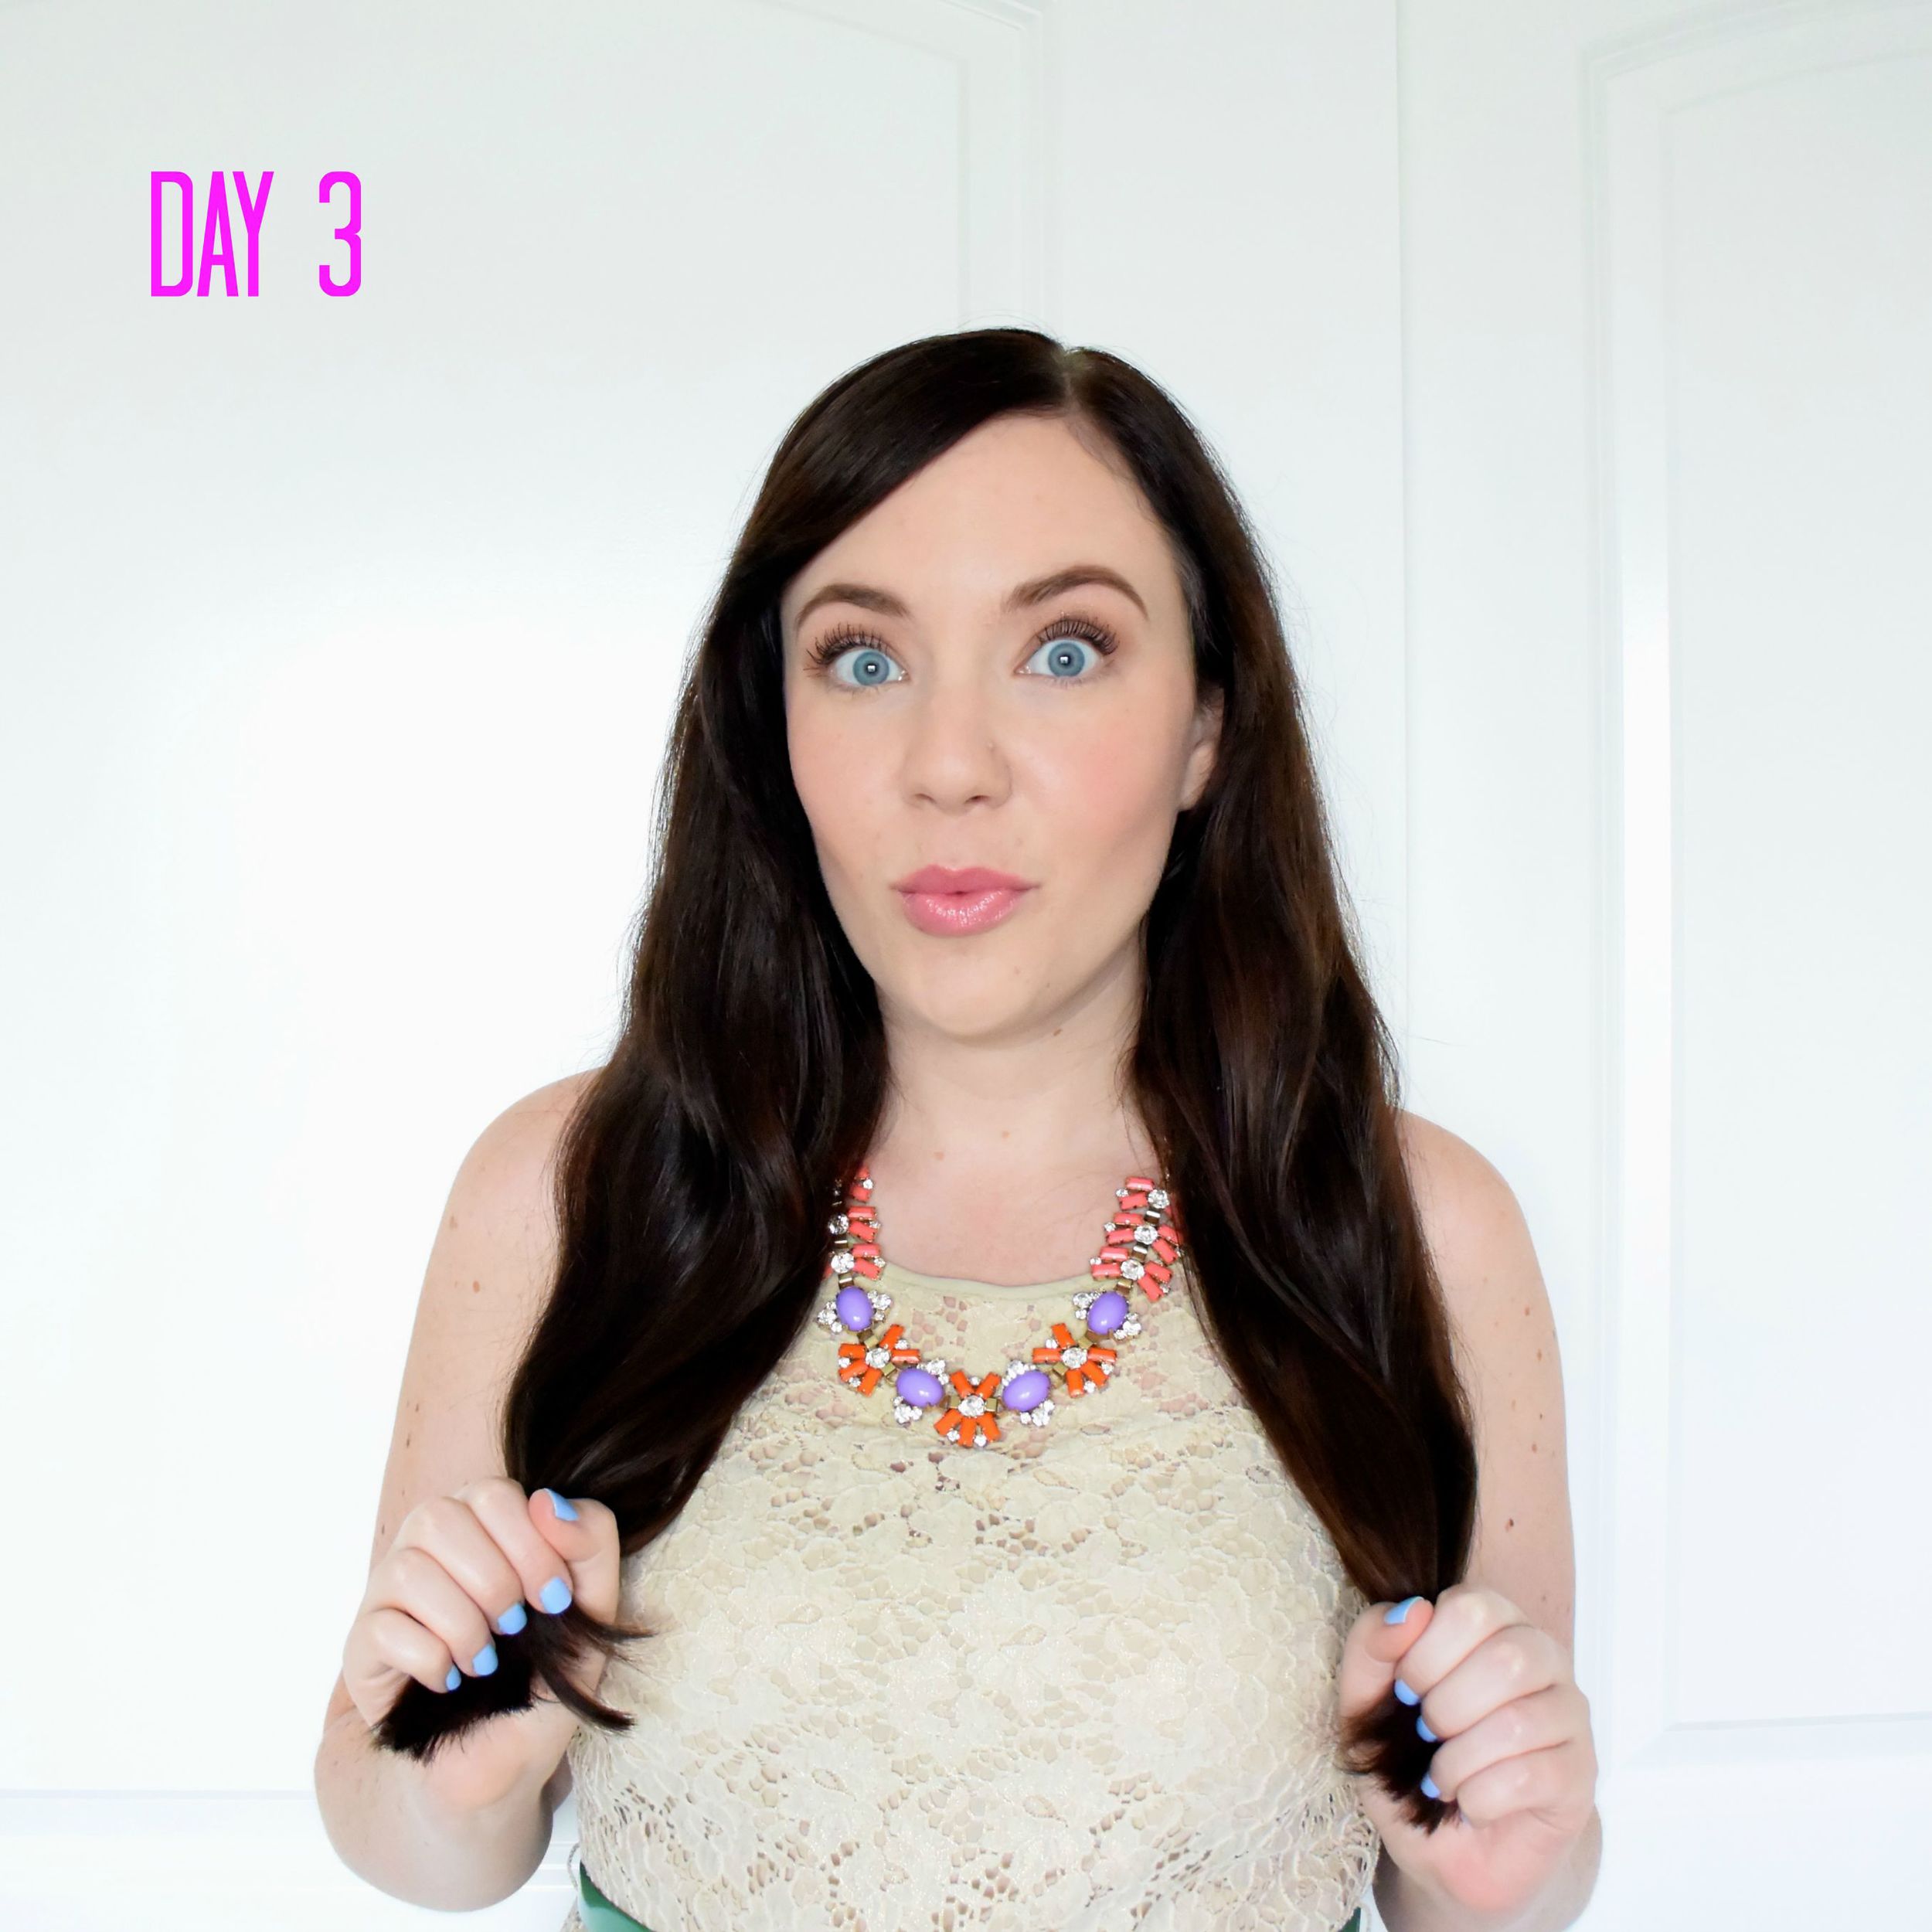
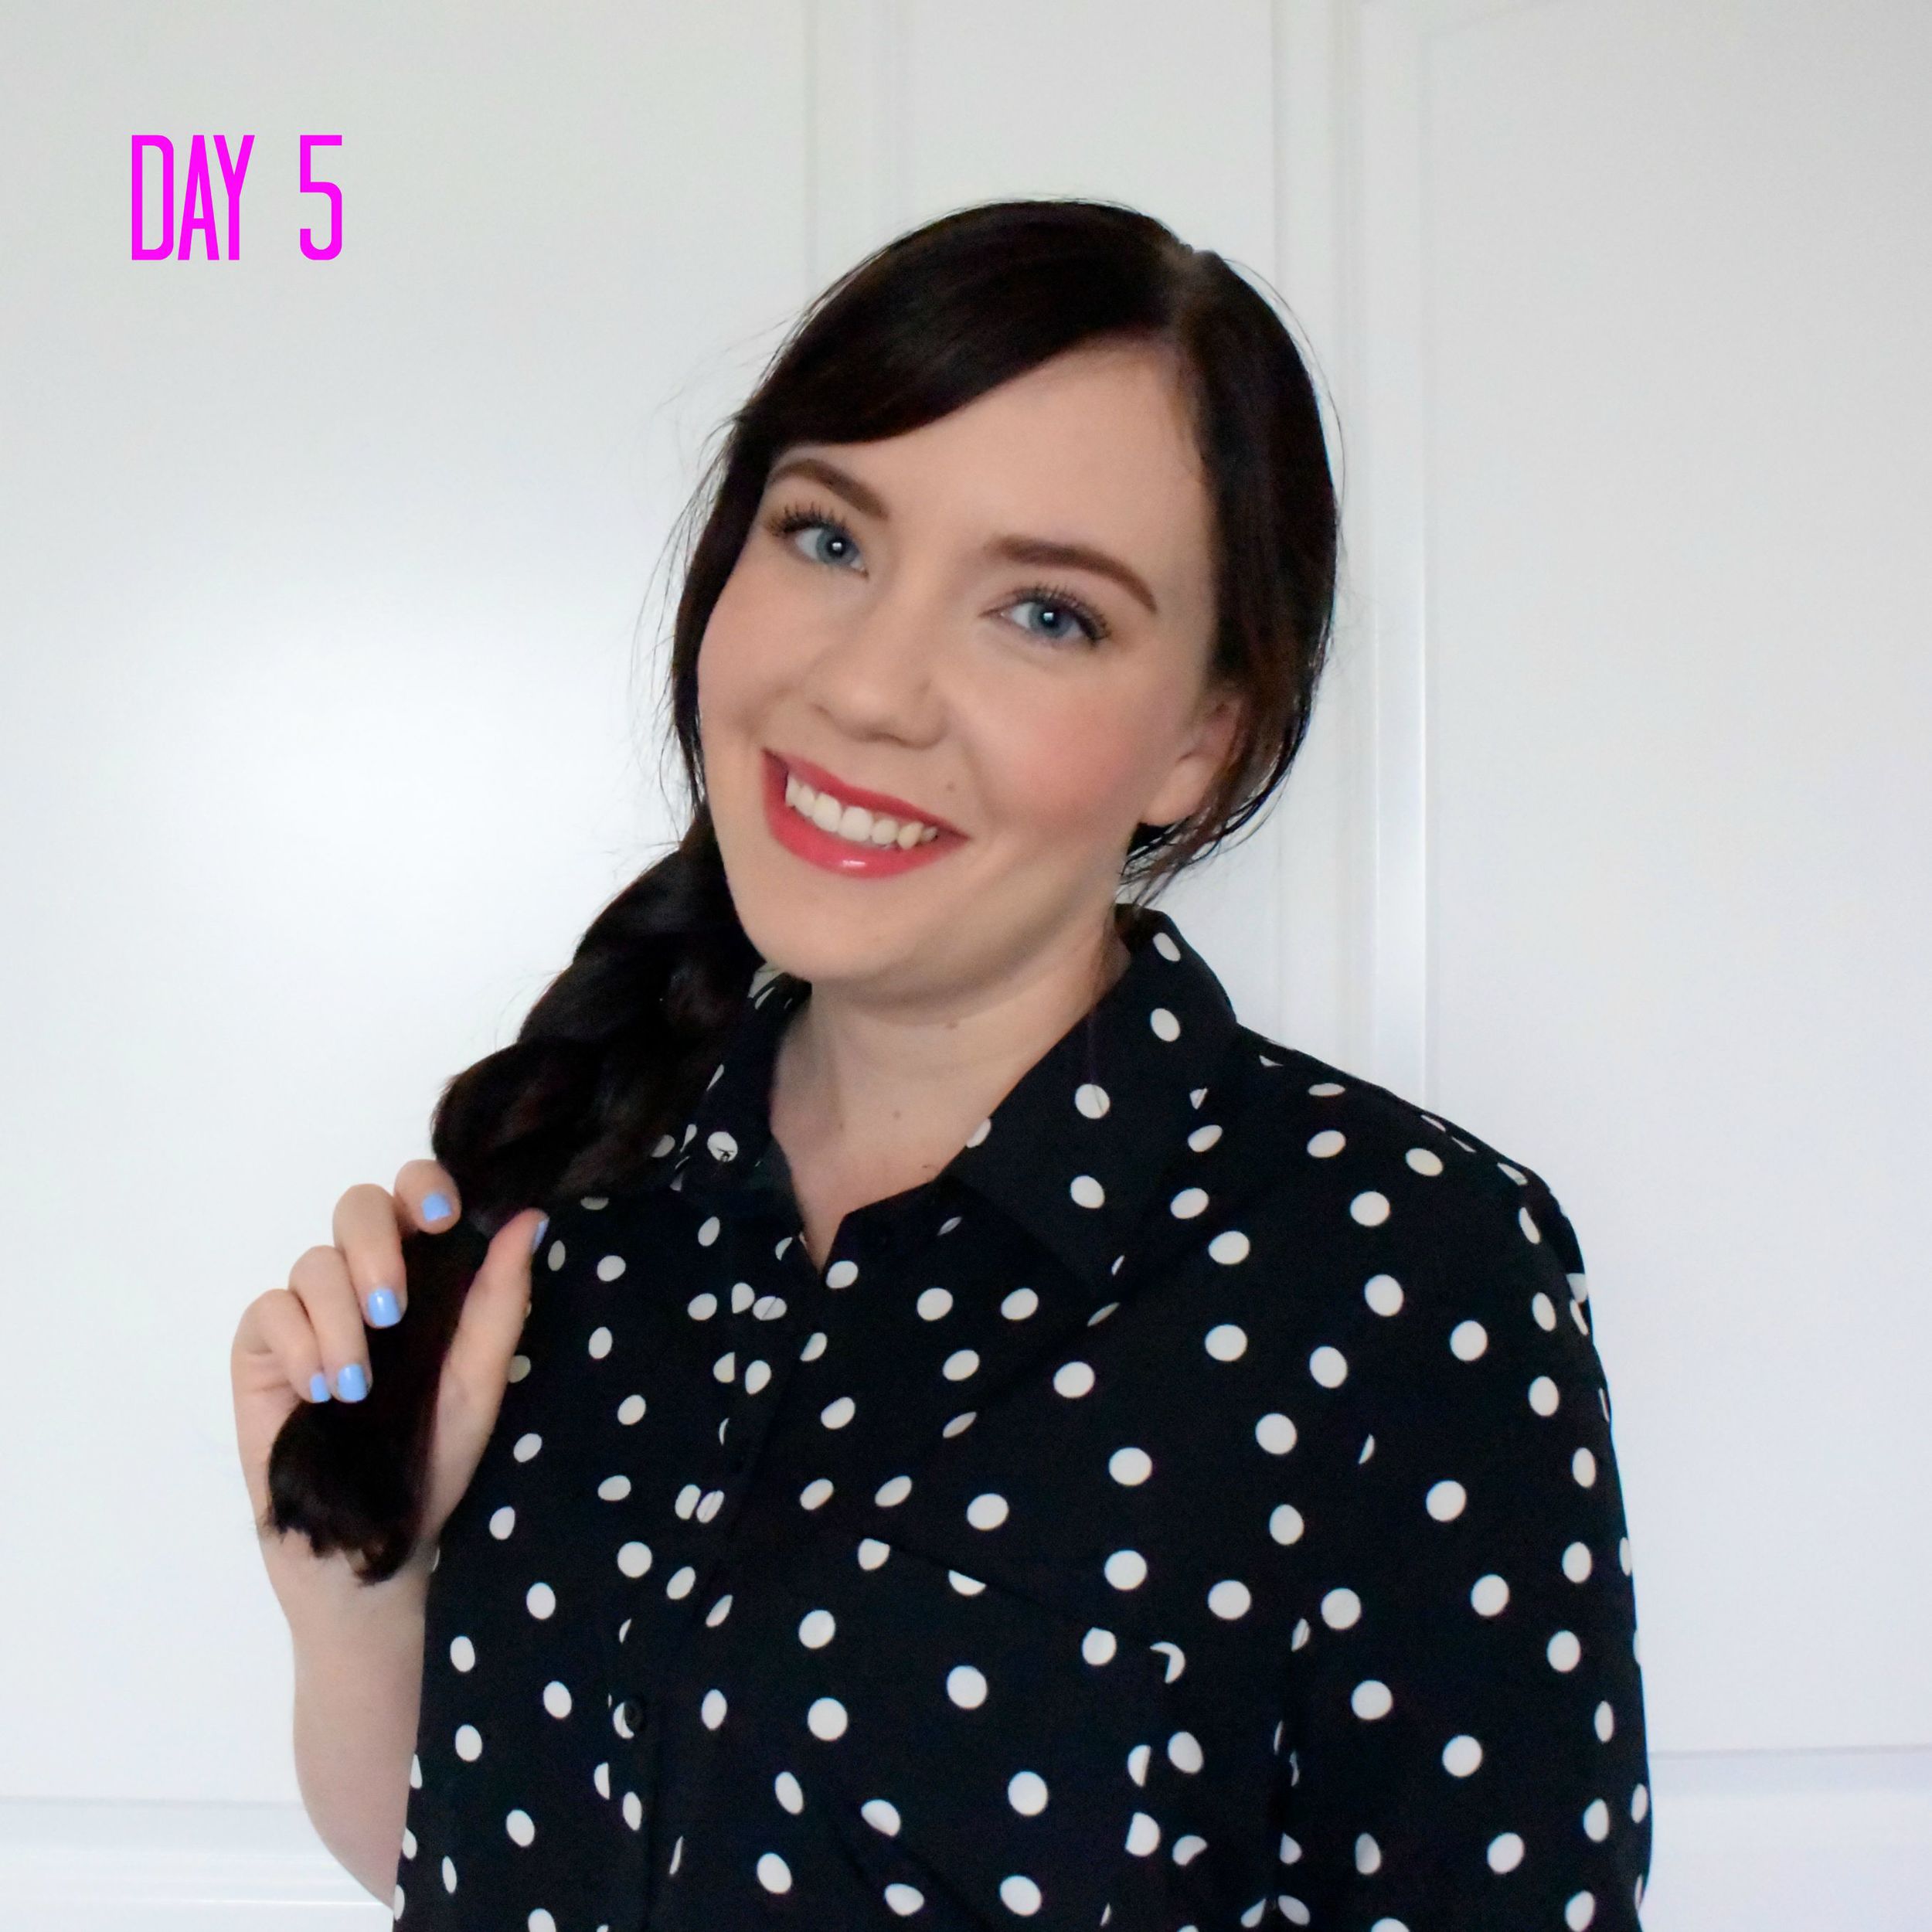
Days 5 - 7: At this point, it's all about concealing any any oil that may start to show.  I could still totally wear my hair down if I wanted to and it would look just fine, but I usually incorporate side braids, pony tails and top knots to change things up a bit.  I'm sure it also helps that my hair is dark, but I'll take any help I can get.  I still continue to comb through the ends of my hair morning and night and avoid brushing at the roots so as not to distribute any oil through the rest of my hair, or even flatten it.  The trick is to do as little as possible but just enough so that it looks like you spent a lot more time on your hair than you actually did.  Don't worry, it'll be our little secret.  Now return to step one, lather, rinse, and repeat.

DSC_0312.JPG
DSC_0315.JPG

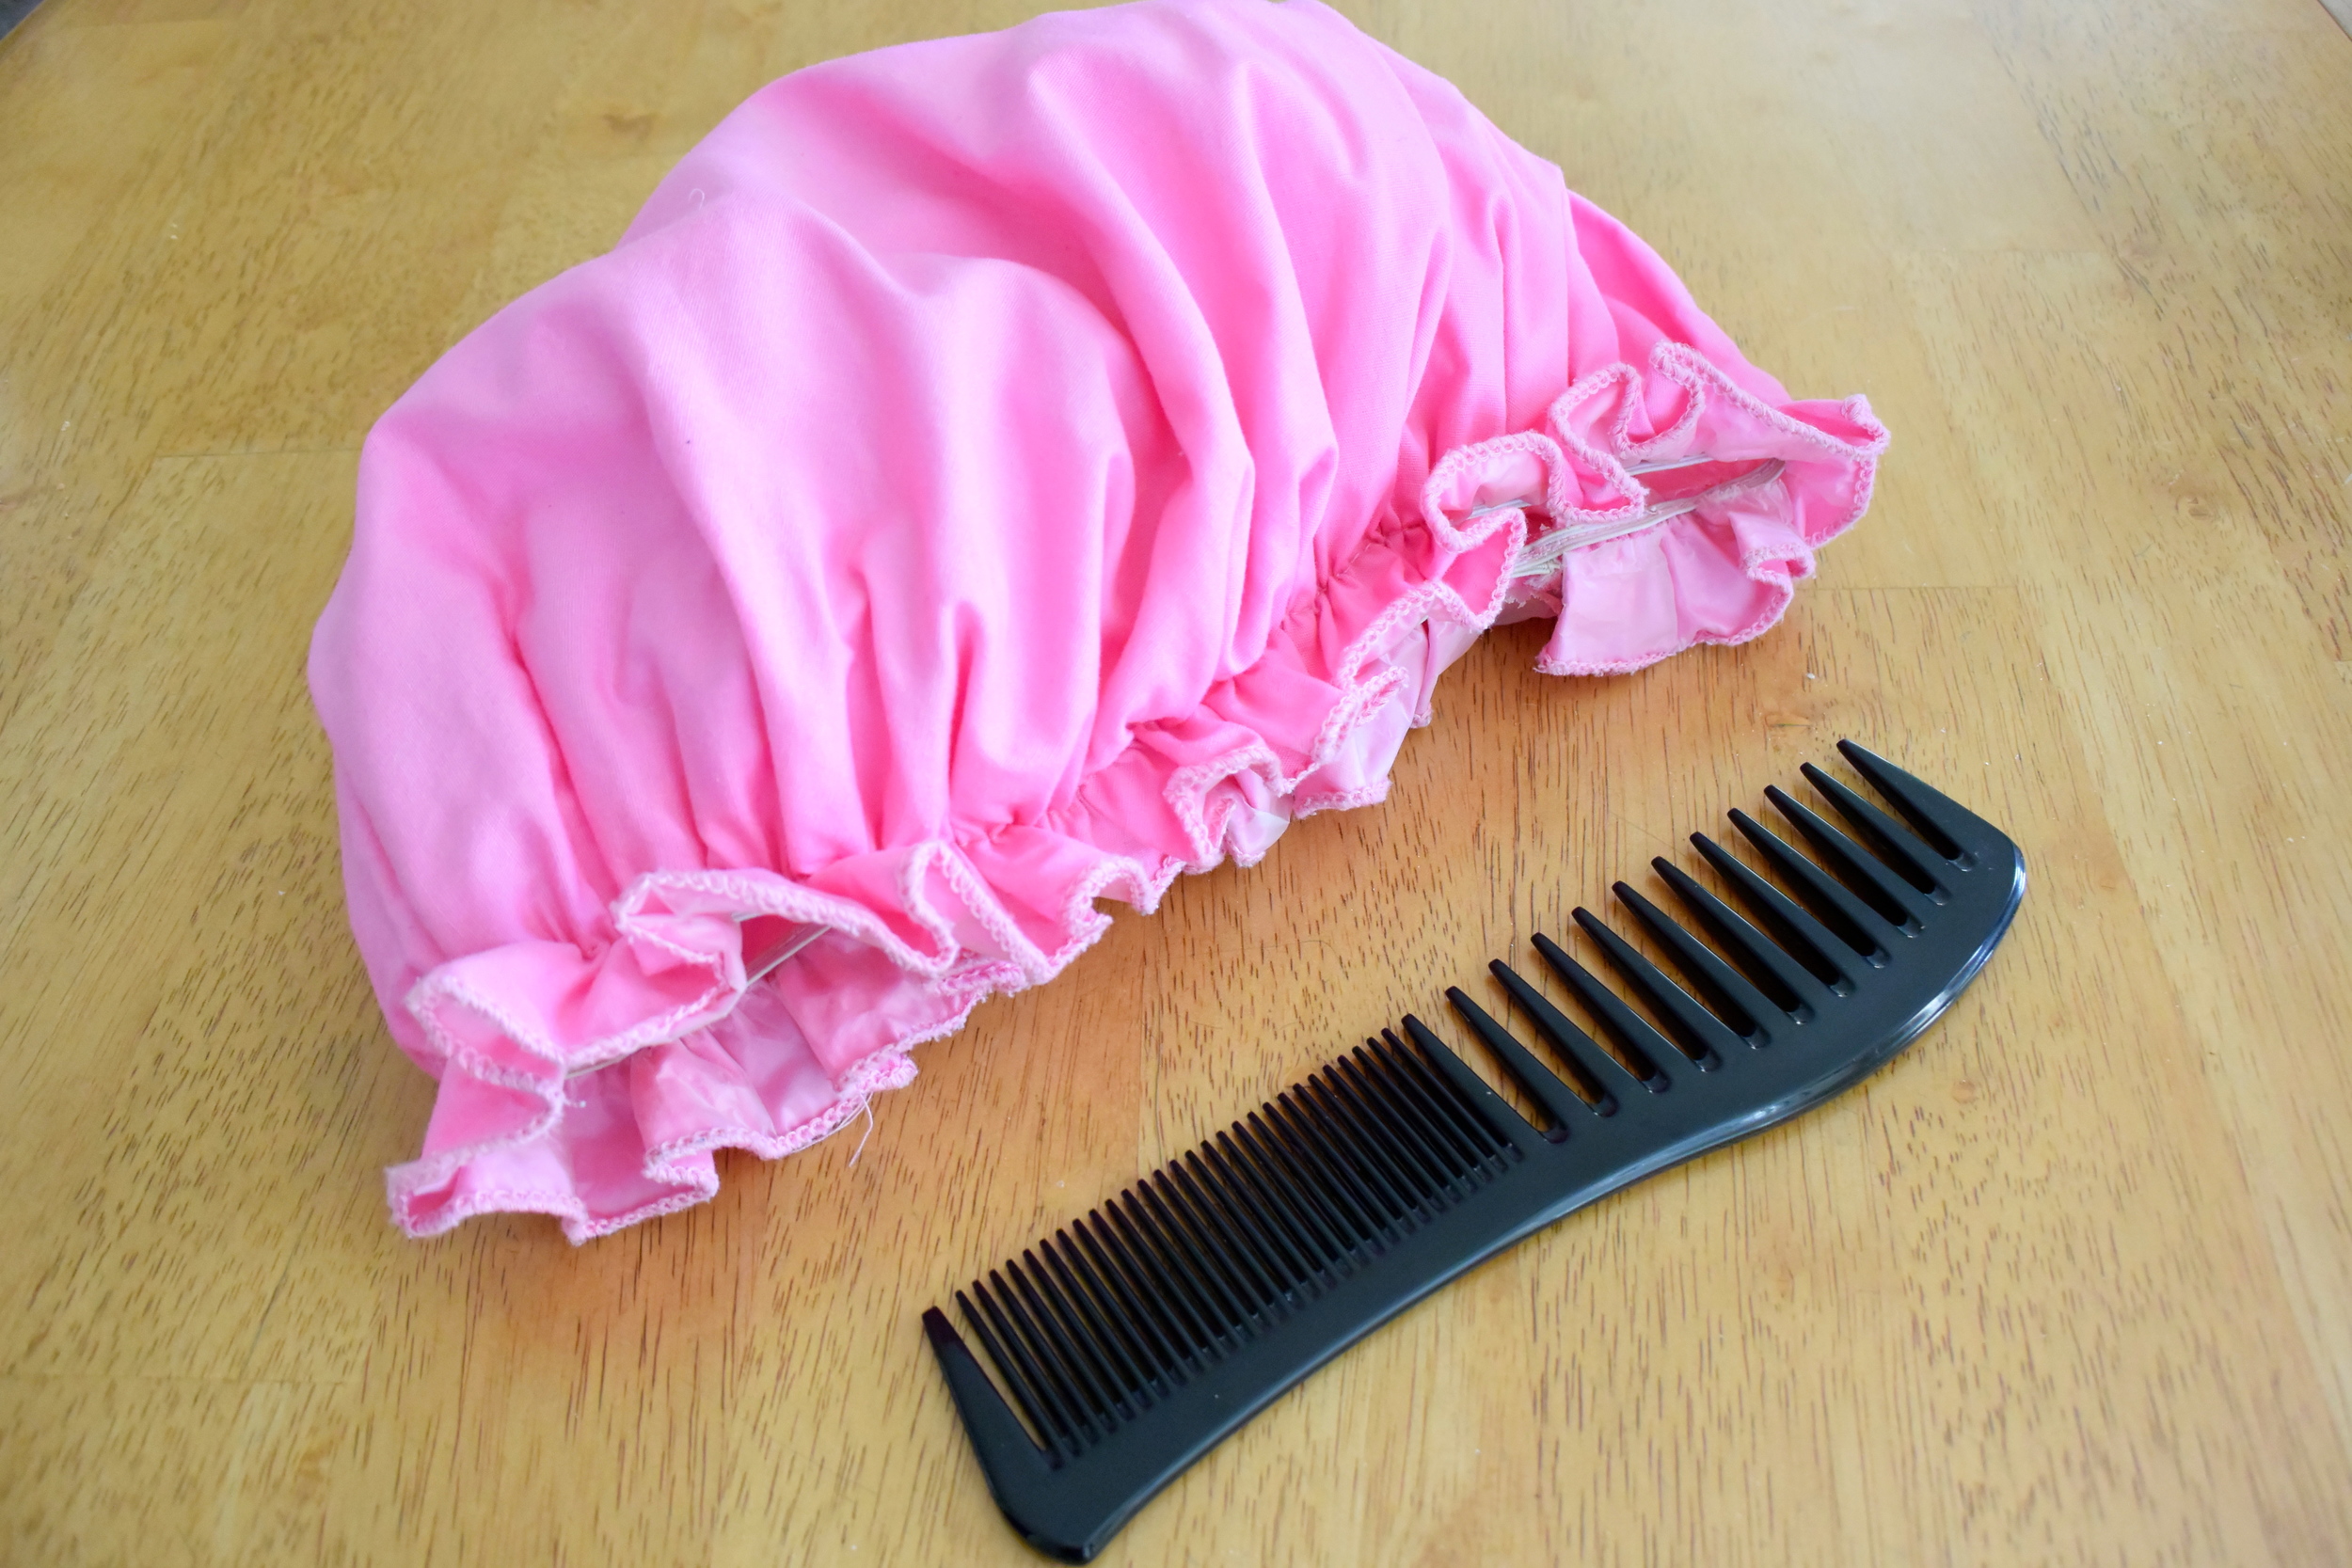
I wanted to be sure to say that I still shower every day, I just don't get my hair wet!  You would think that would be obvious, but you never know.  I know some people will re-wet their hair and just not wash it, but to me that defeats the whole purpose.  I have the cutest pink shower cap that I use to tuck all of my hair in and it stays nice and dry.  I'm in and out in all of five minutes and it's the greatest feeling knowing that I don't have hours to go before I'm completely ready to walk out the door. 

Also, I'll adjust when I start my seven days based on what I have going on.  If I have a big meeting at work on Wednesday, I'll plan to wash my hair Tuesday night.  At the same time, if I have a pool day planned, I most definitely will not wash my hair the night before that.  I try my best to look ahead so that I'm not caught having to wash my hair sooner than I would like. It takes commitment, but once you've got the routine down it really does come second nature.

I feel like I could go on talking about this forever, and I'm sure I'm forgetting something but I'll spare you the boredom.  If you have any other tips, I'd love to know what they are!
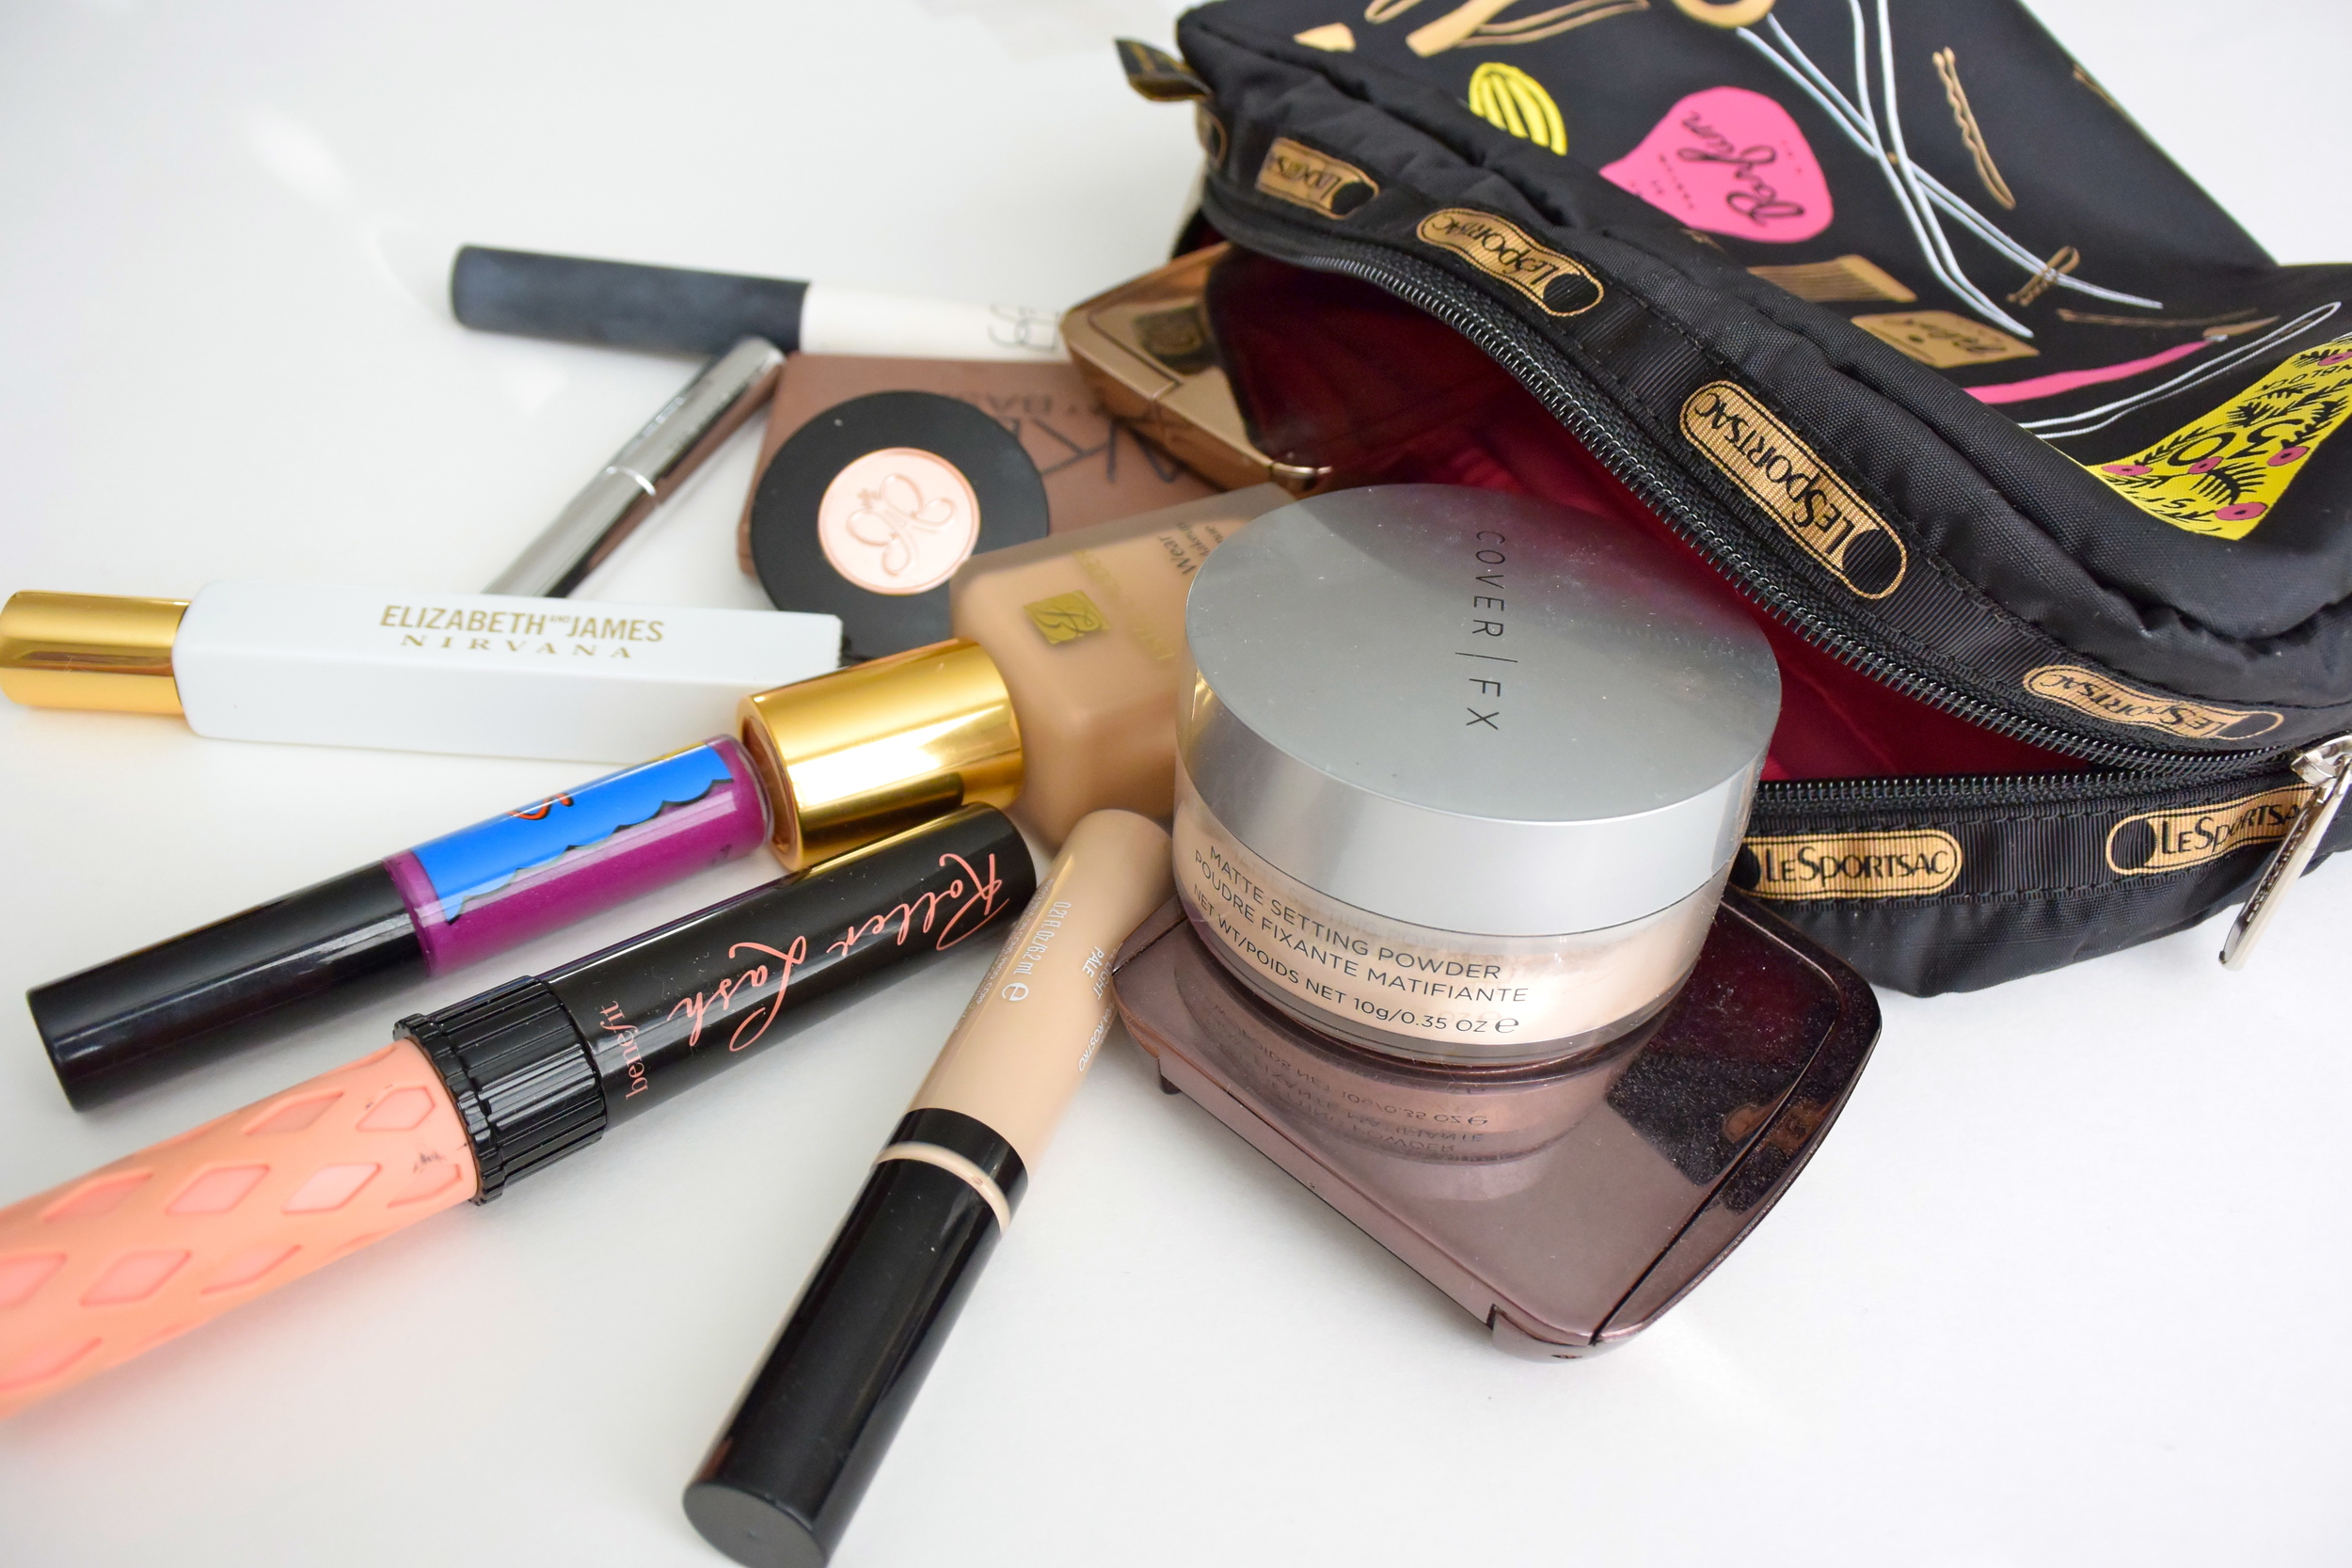
Products Used:

Matrix Biolage Color Care Shampoo

Pantene Pro-V Color Preserve Shine Conditioner

Redken Cleansing Cream

Shower Cap

Wide-Tooth Comb

Shop the Post!

xoxo,

Amanda

In Beauty Tags Beauty, Hair Routine, How To, Tips and Tricks
2 Comments

Five Tips for a Successful Photo Shoot

July 20, 2015 Amanda Hollingsworth

Whether you're a fashion blogger taking outfit photos daily or a lifestyle blogger in need of stock photos, photo shoots are a huge part of maintaining a blog.  If you're just starting out, the idea of stepping in front of the camera may be a bit daunting to say the least.  And even if you're a seasoned blogger, I think there's always room to learn something new.  I've been at this for a little over a year now and while I'm no pro, I have definitely seen improvement in my photos thanks to a few things that I've learned along the way.  I hope you are able to use these tips in your next photo shoot and make it your best one yet!

1. Be prepared.  This may seem obvious but preparation is absolutely necessary if you want your shoot to go off without a hitch.  Every detail from the location where you'll take photos down to the smallest accessory you'll be wearing should be thought out.  I start with a list on paper and then pull my outfits the night before so I know how everything looks once it's all put together.  Chances are you'll be photographing multiple looks at once, so if you have everything you need ready, you won't risk leaving anything behind. 

2. Practice your pose.  Acting natural in front of the camera is much easier said than done, especially when you're first starting out.  I don't know what it is about a little lens that makes us change our behavior, but it certainly does and can come through in your photographs.  As silly as it sounds, I've overcome this by striking pose after pose in front of the mirror (while rocking out to Taylor Swift) to see what looks best and find my most flattering angle.  Over time you'll learn what works best for you and it'll all come second nature.  Until then, keep practicing - Taylor Swift music optional.

3. Confidence is key.  They say practice makes perfect, but that won't matter if you don't have confidence to get out there and actually strike that pose in front of the camera.  Even the shyest person in the world could have the fiercest pose in her back pocket, but if you read that lack of confidence on her face, it'll change the photo completely.  I can wholeheartedly vouch for this because I was, and sometimes still am, that shy person.  Actually, taking photos regularly has helped break me out of my shell.  You have to be ready to handle whatever may come at you during your shoot, like people walking by on the sidewalk while you're mid-pose.  Having the confidence to keep going and not care what they think will make all the difference.

4. Know your photographer.   I know everyone can't be as lucky as I am to have my BFF be my photographer, but nonetheless you should take the time to get to know them.  It'll help with your confidence too, because you won't feel like you're working with a complete stranger.  My photographer and I obviously have a great relationship being that we are already friends, and that's a huge reason why my photos turn out so well.  If you are going to be working with someone new, meet up for coffee before your shoot to not only discuss the vision of how you want things to go but also just to get to know a little bit more about the person behind the camera. 

5. Have fun!  This is my favorite tip because a photo shoot shouldn't be something you dread doing, and there's no point in taking photos if it's not fun for you!  I know it's definitely what I love most about blogging.  The same holds true for other blogs I read, because I'm always drawn to those where the photos look like a glimpse into the blogger's life as opposed to something forced.  The more fun you have during your shoot, the more it will radiate through your photos and blog and draw in new readers.  So throw on some music and do your thing, and don't forget to laugh in between all of your serious faces. 

And because I couldn't contain myself to just five tips, I decided throw in a bonus one for good measure!  If I had to pick the one thing that's the trickiest when it comes to photo shoots, especially those with multiple outfit changes, it's where the in world are you going to change clothes?  You definitely want to consider this when planning your location.  I can say that I've done everything from change in the car to walking right into a restaurant bathroom to change.  Honestly, most places are pretty cool about it if you just ask!  But if you find yourself out where there aren't many businesses around, a roomy backseat may be your best option.  As long as you're flexible with it (literally and figuratively, space may be tight) it should be on to the next!

Photos by Haaken Reed Photography

ย 

xoxo,

Amanda

In Style Tags Style, Fashion, Tips and Tricks, Photo Shoot
1 Comment

What's in My Travel Makeup Bag

July 14, 2015 Amanda Hollingsworth

I am notorious for over-packing for trips.  I like to have options - translation, I have commitment issues - so you might as well stick my picture in the dictionary under "serial over-packer".  Then when I see the stuff I never even touched, I think to myself that I'll change my ways.  We both know old habits die hard though, so you can guess it's right back to square one for the next trip.  Surprisingly, I am pretty good about sticking with the essentials when it comes to packing makeup.  Maybe it's because I got this adorable new makeup bag, or maybe it's because products can be so versatile.  Either way, a pair of shoes can only function as a pair of shoes, but an eye shadow palette can garner multiple looks. 

Here's a peek inside my makeup bag for my most recent trip to Chicago, what I did and didn't use, and what I wish I'd brought!

The Goods:

Foundation - Estee Lauder Double Wear

Concealer - Revlon Color Stay

Powder - Cover FX Matte Setting Powder

Highlighter - Hourglass Ambient Lighting Powder

Blush - Hourglass Ambient Lighting Blush

Brows - Anastasia Brow Powder Duo & Clear Gel

Eyeshadow - Urban Decay Naked Basics Palette

Eyeshadow Base - Nars Eyeshadow Primer

Mascara - Benefit Roller Lash

Lipgloss - Mac Lipglass

Perfume - Elizabeth and James Nirvana

Makeup Bag - Rifle Paper Co x Le Sport Sac via ModCloth

The Dish:

Of course I applied foundation, concealer and powder everyday for a flawless base and because I knew I was going to be taking photos.  The weather was nice and cool so I didn't have to worry about it melting off of my face, which was nice!  I would have changed things up if that had been the case, but thankfully I could stick with my usual routine.  I dusted my highlighter and blush on each day as well to round everything out. 

But after filling in my brows, I decided to forgo the eyeshadow.  I brought the Naked Basics palette with me because it is such a travel-friendly option, but with our early mornings I decided a little bit more rest was worth it.  Once I swiped on a few coats of mascara I was ready to go out the door.  If I hadn't worn foundation at all, I would have definitely done my brows and lashes if nothing else.  Always remember, brows and lashes. 

I added lip gloss the first day (which was also the cooler of the two days, and most of our time was spent in and around downtown) but didn't bother with it the second day and just used lip balm instead.  You really have to find what balance works for you here, depending on what activities you'll be doing and the weather.  Since we spent our second day at the parks and Navy Pier, I didn't think lip gloss was terribly necessary.  

Ultimately, deciding what makeup to pack for a trip is up to you and your taste.  If you love rocking a full face every day then by all means do your thing!  Or, if you hardly wear any makeup at all, then don't feel the need to cake on the products just for the sake of photos.  Or maybe you're like me and fall somewhere in the middle, in which case you'll probably stick with most of your usual routine but make some shortcuts here and there.  The moral of the story is, don't make your trip all about makeup and focus instead on all the fun you'll be having!

What makeup do you pack when you travel?

Shop this post!

ModCloth


In Beauty Tags Beauty, Makeup, Travel, Tips and Tricks
1 Comment

According to Amanda: The Dos + Don'ts of a City Vacation

July 6, 2015 Amanda Hollingsworth

When it comes to vacations, there are two main options - one where the goal is rest and relaxation or one where the goal is to see the sights.  About a month and a half ago I went on a trip with my sister to Destin, Florida and you could probably guess that our number one priority there was to enjoy time on the beach.  I haven't been on a trip to a big city in a long time, so I was really excited to soak it all in.  City vacations require more structure and planning than a beach trip, so I thought I would share my tips and tricks for having a successful trip!

ย 

Do have a plan for each day.  Whether you want to be as detailed as an itinerary with times or just want a simple layout of your day with key places to go, a plan of some sort is a must.  It will help keep you on track so that you get to see all of the major spots on your list.  Also, keep in mind location of each sight.  You don't want to go zig-zagging all across the city from one place to another.

Don't overfill your days.  On our first day exploring, we didn't wrap up our last activity (a boat cruise on the river and lake) until after 9 PM.  Part of this was because they were running behind schedule, but nonetheless, we ended up having to take the next latest train back to our hotel because we missed the one we planned to catch.  We also had to grab fast food at the train station (not the most ideal situation) because everything around the area was either closed or would have taken too long.  The next day we called it a wrap earlier than planned because we were still wiped from day one.

Do take advantage of public transportation.  The beauty of a big city is public transportation and how quickly it can get you around town.  We stayed in a suburb and took the train in each day, and then used the subway and buses once we were there.  They usually offer deals, like a 24 hour unlimited pass or a pass for however many days you need, so that you don't have to keep paying a fare for each trip.  It's not only cost effective but also will save you a lot of walking.

Don't try and walk (or drive) everywhere.  I don't think you could pay me to drive into Chicago, let alone around downtown.  The glimpse of Chicagoland driving I did experience was more than enough and made me very, very thankful for minimal Louisville traffic.  And when it comes to walking, you will get tired quickly, unless maybe you're a pro athlete.  You can't really appreciate how much walking it takes to get around a big city until you've done it, so trust me and my mom's Fitbit count on this one. 

Do wear comfortable walking shoes.  Some walking is inevitable because the subway and bus won't always let you off right where you need to be.  I went with my Keds and those did pretty well for me for two days, but I could tell that if we had spent another day walking I would have been miserable.  Sometimes you have to prioritize function over fashion and this is definitely one of those instances.  And hey, tennis shoes can still look stylish with the right outfit!

Don't think you can get away with sandals.  Just trust me, don't do it.  Unless you are staying in the city itself and have the opportunity to change clothes before say, dinner, then don't do it.  No matter how comfortable your favorite sandals are, you won't be thinking that so much when you have a blister on your heel (or sore feet from lack of support).

Do take a camera to capture photos.  With smartphones these days, you're probably already set with this one.  Of course you'll want to capture shots for Instagram (wink, wink) but if you have a real camera I suggest you bring that as well!  When you're on a trip to sight-see you'll want photos to look back on from time to time.

Don't make photos your top priority.  Sure, you might see that perfect shot and want to snap it, but don't forget to live in the moment too.  I am a firm believer in the importance of experiences and viewing your trip through a camera lens the whole time is just not the same thing.  

ย 

PS - You can read all about my beach tips here!

PPS - Y'all.  I have to share a funny story from our trip up into the John Hancock building.  We chose to go to the 96th floor lounge as opposed to the 94th floor observation deck, mostly because the line was shorter and you could get away with spending a little less money for the same view.  As we were standing in line, waiting to be seated 96 floors up in the air, my mom and I each took a turn in the ladies' room.  There were floor to ceiling windows in there and a lot of people were going just to take photos!  As I was standing there looking out, a girl asked me if that was downtown out there.  I stood there for a second because I honestly wasn't sure how to respond.  She said she was from Cleveland, and didn't know.  Now, I'm from little ole' Louisville and I knew that it was downtown.  Rather than make her feel silly for asking (because I'm pretty sure she was serious), I just nodded my head and said I was pretty sure it was.  My mom and I definitely had a good laugh about it afterwards!

xoxo,

Amanda

In Life Tags Tips and Tricks, Travel, Chicago, Vacation, Life
Comment

According to Amanda: The Dos + Don'ts of a Beach Vacation

May 28, 2015 Amanda Hollingsworth

You know how you go into a trip, beach or not, having one set of expectations and then it ends up being different but still completely wonderful at the same time?  That's about how my trip last week to Destin was.  In case you're not from Louisville (because everyone from Louisville goes there) Destin is a beach town on the Florida panhandle, directly south of here.  It has emerald waters and white sugar sand.  Read - gorgeous.  I wanted to share my beach trip experience, what I packed and didn't use, what I wish I'd brought, you get the gist, in case you have a beach trip coming up! 

Do make it a road trip - getting there is half the fun.  On our drive south we jammed out to the entire Bruce Springsteen discography as well as some of the best and cheesiest 90s pop songs.  We stopped halfway for lunch in Birmingham at Whataburger (seriously, why don't we have those around here?!) and just got to spend time talking about anything and everything.

Don't let your gas tank get too low.  You really never know when you might run into traffic, so trust me when I say this.  Standstill traffic and less than a quarter of a tank is not a winning combination, I repeat not a winning combination.  Not that I'm speaking from experience or anything, ahem.

Do wear sunscreen and reapply, reapply, reapply.  Dealing with a painful, itchy sunburn from your first day on the beach is not how you want to start your trip.  If you're fair skinned like me, wear a floppy hat and retreat under a colorful beach umbrella too.  Bonus points because it makes for a fun photo op.

Don't forget a good beach read.  I hit up Target the week before the trip for last minute essentials, including a new book.  As much as I love a juicy romantic read, I went with something a little more inspirational.  There's something about being on the beach that helps you find your inner happiness so this book was just what I needed.

Do go to bed early, get up early, and get plenty of rest.  In a typical work week, my alarm clock is the bane of my existence.  But at the beach, I naturally woke up at about 6 or 7 AM every day.  Eating breakfast on the balcony overlooking the ocean while the sun was coming up got every day off to a great start.  And since we got up early, we passed out around 10 each night.  No complaints here though.  I have never felt more rejuvenated in my life.

Don't be a loud neighbor.  Most condo buildings on the beach front have floors and floors of units with who knows how many people staying in them.  That's a lot of beach goers in one place.  If you've ever lived in an apartment then you know how it can be when you feel like you're a part of your neighbor's conversation because they're so loud.  We dealt with this on our last night.  Thankfully I was so tired every other night that it didn't wake me up!

Do embrace wavy beach hair.  I only washed my hair once, halfway through the trip.  The rest of the time I embraced the wave and let the saltwater air do its thing.  Low maintenance is definitely the way to go when you're at the beach.

Don't bother with makeup.  I packed all of my makeup essentials and didn't touch them once except for mascara and lip gloss.  Let me tell you, I've never gotten ready so fast in my life!  If I can do it, anyone can.  And after a week without worrying about makeup, it almost felt foreign to me once I got back into my regular morning routine for work.

Do let yourself indulge.  If you want a fun cocktail in a blender souvenir cup, then by all means go for it!  If you want an big ice cream cone covered in sprinkles, get it!  Do it for the Insta people.  And for vacation, duh.

Don't think every meal needs to be fancy.  To save a little money and make the most of our time on the beach, we ate breakfast and lunch at the condo and went out for dinners.  That way we didn't have to worry about getting dressed, going to find somewhere to eat, and coming back bloated and tired.  Bloated and swimsuits don't mix very well.

Do swim in the ocean.  To me, this one is a no-brainer!  You drove all the way to the beach, now get yourself in it!  Take long walks, put your toes in the water, let the waves crash around you and just soak in your time in paradise because it won't last forever.

Don't worry about a plan.  Beach vacations to me are for relaxing and taking it easy.  This isn't a trip where you need to sight-see, get from point A to B to C by a certain time or have a strict schedule of all you want to accomplish.  This is your chance to not have a worry in the world except for if the tide is going to reach your chair ;)

xoxo,

Amanda

In Life Tags Vacation, Tips and Tricks, Beach, Destin, Summer, How To
Comment
Older Posts →

Welcome to Derby City Darling, where my love for crunching numbers meets my love of beauty, fashion, and all things creative. Accountants can be glamorous, too!


CATEGORIES


style final sidebar.jpg
beaty final.jpg
life sidebar.jpg

INSTAGRAM


First we drink the coffee, then we do the things. Had a blast in the Big Apple this past week, but so happy to be making coffee in my own home this morning ๐Ÿ’•โ˜•๏ธ
First attempt at fulfilling his IG boyfriend duties, and he nailed it ๐Ÿ˜œ๐Ÿฆ‹โค๏ธ #whatliftsyou
Someday we’ll find it, the rainbow connection ๐ŸŒˆ #loveislove
It isn’t Wednesday, but I’m still all about pink ๐Ÿ’— #nationalpinkday
Summer in the City ๐Ÿ’š๐Ÿ’›๐Ÿงก๐Ÿ’™๐Ÿ’œ
Does this house make me look like an adult? ๐Ÿ˜œ๐Ÿก๐Ÿ”‘๐ŸŽ‰
The sun might not have shined bright, but we still had a great time at Derby! ๐ŸŒน๐Ÿฅƒ๐ŸŽ๐Ÿ‘’๐Ÿ’•
It’s Derby Weekend y’all ๐Ÿ’•๐Ÿฅƒ๐ŸŽ
Blue jean baby ๐Ÿ’• Sometimes on vacation, you have to make do with the clothes you packed, resulting in a makeshift Canadian tuxedo ๐Ÿ˜œ
Up, up and away ๐ŸŽˆ

SPONSORS + PARTNERS


Follow
Most Loved Posts
DSC_0702.jpg
At the Pumpkin Patch
Tee 1.JPG
InstaStyle: Sweet Tee
Listen Up: Five Podcasts to Check Out Now
IMG_0948.jpg
The Basic Tee (Shirt Dress)
IMG_0839.jpg
Spring Flare
IMG_0810.JPG
Valentine's Day Marshmallow Pops
For the Love of Good Hair
The Year of You

DISCLAIMER: Derby City Darling is a for-profit blog, meaning that I may receive compensation or products in exchange for a review.  Affiliate links may also be used, meaning that I will earn a commission based on sales generated through that link.  As such, I will only share things that I am 100% passionate about and would use or wear myself and will always give my honest opinion!  Please do not hesitate to contact me with any questions!